Showing posts with label christmas. Show all posts

Tuesday, January 29, 2013

Christmas Cards

Christmas is gone for another year! It seems we spend so much time preparing for it and it's over in a flash, which is probably why I leave my tree up so long. Five weeks this Christmas, the longest yet!

I made Christmas cards this year for my close friends and family. Even though I love making things, cards in particular, it kinda freaks me out to give a gift of something that I've made. So this is the first year that I actually did it. I surprised myself, it was way too much fun and I can't wait to do it again. However, Christmas eve I started to slightly panic...wondering if I had made the right choice. What if no one likes the cards and gifts? Maybe I should have bought something rather than making them. I am always so full of self doubt, I don't know how I get through my day, to be honest.

But I'm glad I did this. I wouldn't say I've overcome my fear...there's always the next holiday or birthday to panic about...but I got through the hurdle this Christmas. Only good things can come of it. Right?! lol

These are all my own designs...based loosely on many cards that I've drawn inspiration from all over Pinterest. I don't really have any tutorials. You won't need any, they are pretty easy to figure out. Cut some paper, glue some paper. ;) However, if you have questions, feel free to leave a message below.


I made all my envelopes too :)

And yes, picture quality is crap. Still using my phone as a camera! As I see it, I'm lucky to even remember to take any photos at all. :P

Sunday, January 27, 2013

'Gumball Machine' Candy Dish

I made many of my gifts for Christmas this year. Some of the recipients actually find time to read the nonsense I write on my blog. So now that Christmas is over I can finally get those posted on here.

So this post will deal with something that is very popular on Pinterest, in which I get many of my ideas from. I actually received one of these as a birthday gift last year from a friend. So I used that as my inspiration.

'Gumball Machine' Candy Dish

As per usual, I got so involved in the project that I forgot to take pictures. Sorry. I'll try to make up for that with detailed instructions...but it really is just painting and glueing, for the most part.

The most difficult part of this project was finding the glass bowl, flower pot and base that fit together properly. Once you've got that, you're golden.

You'll need:
clay flower pot
2 flower pot  bases, different sizes
glass bowl
wooden decorative knob
paint and paintbrush
epoxy glue
clear sealant spray
ribbon (optional)
silicone (optional)


As I said earlier, the hardest part is getting the pieces that are the proper sizes to fit and enable you to achieve the look you're going for. It's easier to do this in a store that sells all these items (craft supply stores, dollar stores, etc.) so you can try them together before you buy.
Paint the flower pot, both bases and the knob. I ended up doing three coats of paint. Next, add a coat or two of clear sealant spray to all of these pieces.


Now you can start assembling. Using your epoxy glue, follow the directions on the package carefully. Apply it on the bottom of the flower pot and lay the glass bowl on top of that. If the bowl doesn't seem to be touching the pot, you can just add more glue until it does. Just make sure to keep the glue spread evenly across the surface. Now apply some pressure for a few seconds to ensure the pot and the bowl bond together.

Using the same glue, attach the knob to the center of the smallest flower pot base. Attach that base onto the center of the larger base. The only problem I ran into with this project was getting the lid (the bases you just glued together) to stop slipping over the glass. So I applied a layer of clear silicone inside the lid. When it dries it is very non slip and has a sort of cushioning effect. This is just regular silicone that you would use around the bathroom or kitchen. Be sure to get the clear and not the white though...unless of course you want to see the silicone. :P

Next, I added a ribbon. But you could do whatever you like with it now. I originally wanted to etch the glass but decided on the ribbon instead.

And that's it, you're done. ;)


Monday, December 12, 2011

10 minute Christmas centerpiece

I was all done decorating for the holidays...and realized I had nothing Christmas-y on my table! I'm kind of a minimalist when it comes to Christmas decorations. I think less is more (except on my tree lol). However I've moved a few times in the past 3 years and in the midst of all that packing, moving, unpacking...you tend to rid yourself of clutter, extra things you don't really need, anything that doesn't hold sentimental value and can be replaced, anything overly heavy...you get the picture. I'm sure you've all been there! So here I was, no centerpiece (though my tech savvy, table hogging boyfriend couldn't be happier about that ;P) and I didn't want to go out and buy anything. Blah! So I looked around and came up with something that used things I already had and costed me nothing! My favorite kind of creations! :)

I had a decorative bowl that really has no use other than to look pretty on the bookcase, a few silver and white balls leftover from the tree, a bow that I had leftover (that I didn't have to make!! Phew!) a few holly berries, a pinecone and I snipped a piece of garland for a touch of greenery. Smacked it all together and laid it out on a table runner that I never use. Voila!


I think it turned out pretty good for 10 minutes and a little creativity! Excuse the photos, it's a Smart Phone day ;)

Sunday, December 11, 2011

Wreath anyone?

I bought a pine cone wreath at the thrift store last winter. God love the ones that put all the effort and work into something and then give up on it and give it away. lol I picked it up as soon as I saw it, I knew I'd need a wreath by Christmas and I'm too cheap to buy one already done. So this was the best of both worlds. Cheap & unfinished but the hard part already done. :D

So I paid maybe $1 for this, then I bought a few silver/white leaves and holly berries for about $0.50 and a huge spool of wired ribbon for $3, all at the thrift store.


Dad was throwing out a bunch of old Christmas things he doesn't use and is tired of storing so I snatched up the wreath hanger. I put this wreath together in about 10 minutes (minus my thousand attempts and failures at a good bow) and in my haste, forgot how ugly the old brass hanger was (no picture was taken but I'm sure you've all seen them, terrible things!) So I covered it in ribbon, last minute kinda thing. Haha!
 And here's the result. I was going for a wintery, snowy kinda wreath...not too overdone or full of color. This picture reminds me of how bad I am at making bows. Ahh well! My first wreath! Come to think of it, it's a little small, next one needs to be much bigger! :)


So..how did I do for my first attempt? Did you ever make a wreath, if so how did it go?

Saturday, December 10, 2011

Penguin Christmas Cards


So I got a text from a friend of mine about a month ago. She wanted me to make some Christmas cards, something different and preferably with a reindeer or penguin theme. My first thought was 'oh crap...I don't have any stencils or stamps for either of those.' Then I frantically started looking online for inspiration. I decided right away it would be penguins cause I love them and nothing is cuter...I swear! And the rounder they are, the better. :)
I found soooo many possibilities...if I had a machine or punchers to do the work for me. But alas, I am a poor little crafter. So I looked for something that I could make my own stencil from.

Then I found this! Instant love! Penguin Love!

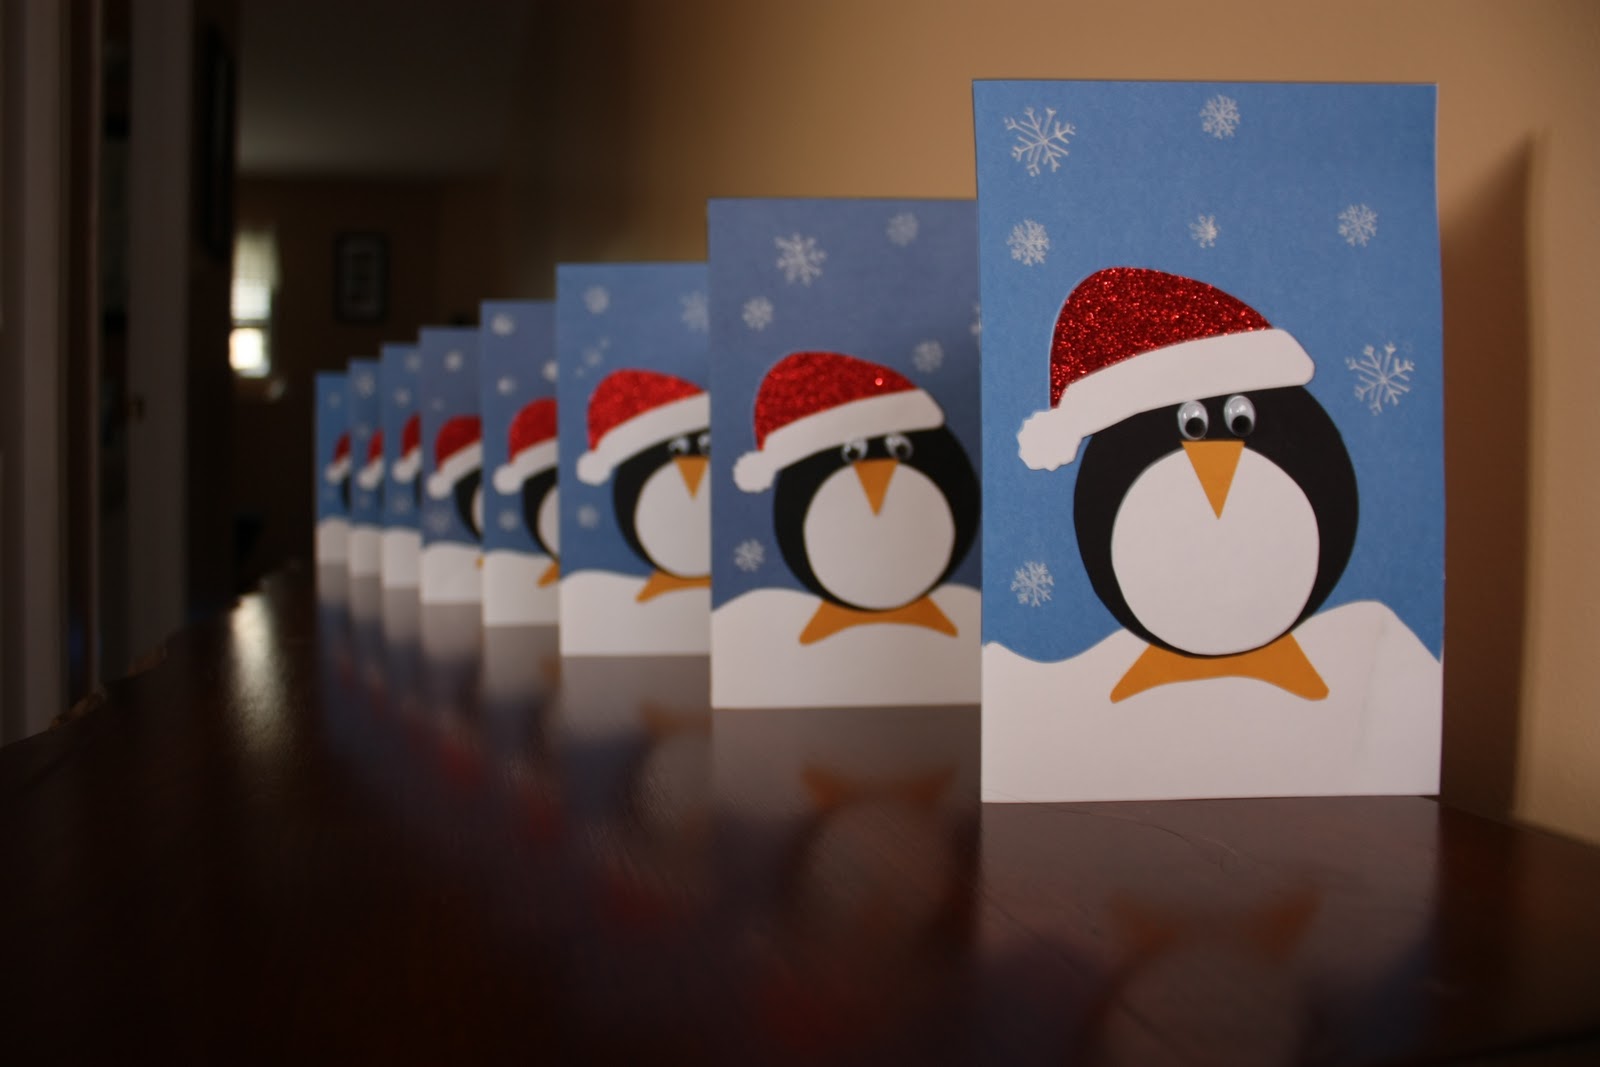
So I free handed a stencil based on this, added some bling to his hat and some googly eyes for fun and came up with this! A chubby Santa Penguin sitting atop a hill of fluffy snow! :D


I made 8 of these loverly penguins and stuck them on blue paper, which was actually stuck to white cardstock. I got the red glitter cardstock (for the hats) at Michael's. I totally fell in love with it and have promised myself that I'm going back for more as soon as I find a reason to need it. ;) I couldn't find the right color paper for his beak and feet, and my clever boyfriend came up with the brilliant idea to use one of those big yellow envelopes. It was the perfect color! Stamped some snowflakes on the blue background with white ink and that's it! A little time consuming but oh so darn cute!


I had to make 8 of these penguin cards...so it didn't take too long once the planning and cutting stages were over with. And I had tons of fun making them. And she loved them so that was what I was aiming for. :)
I stamped a Christmas-y message on the inside but, of course, forgot to take a photo of that :P